

How to use the IKEA Billy Retractable Shelf.
The ultimate space saving piece! ✨
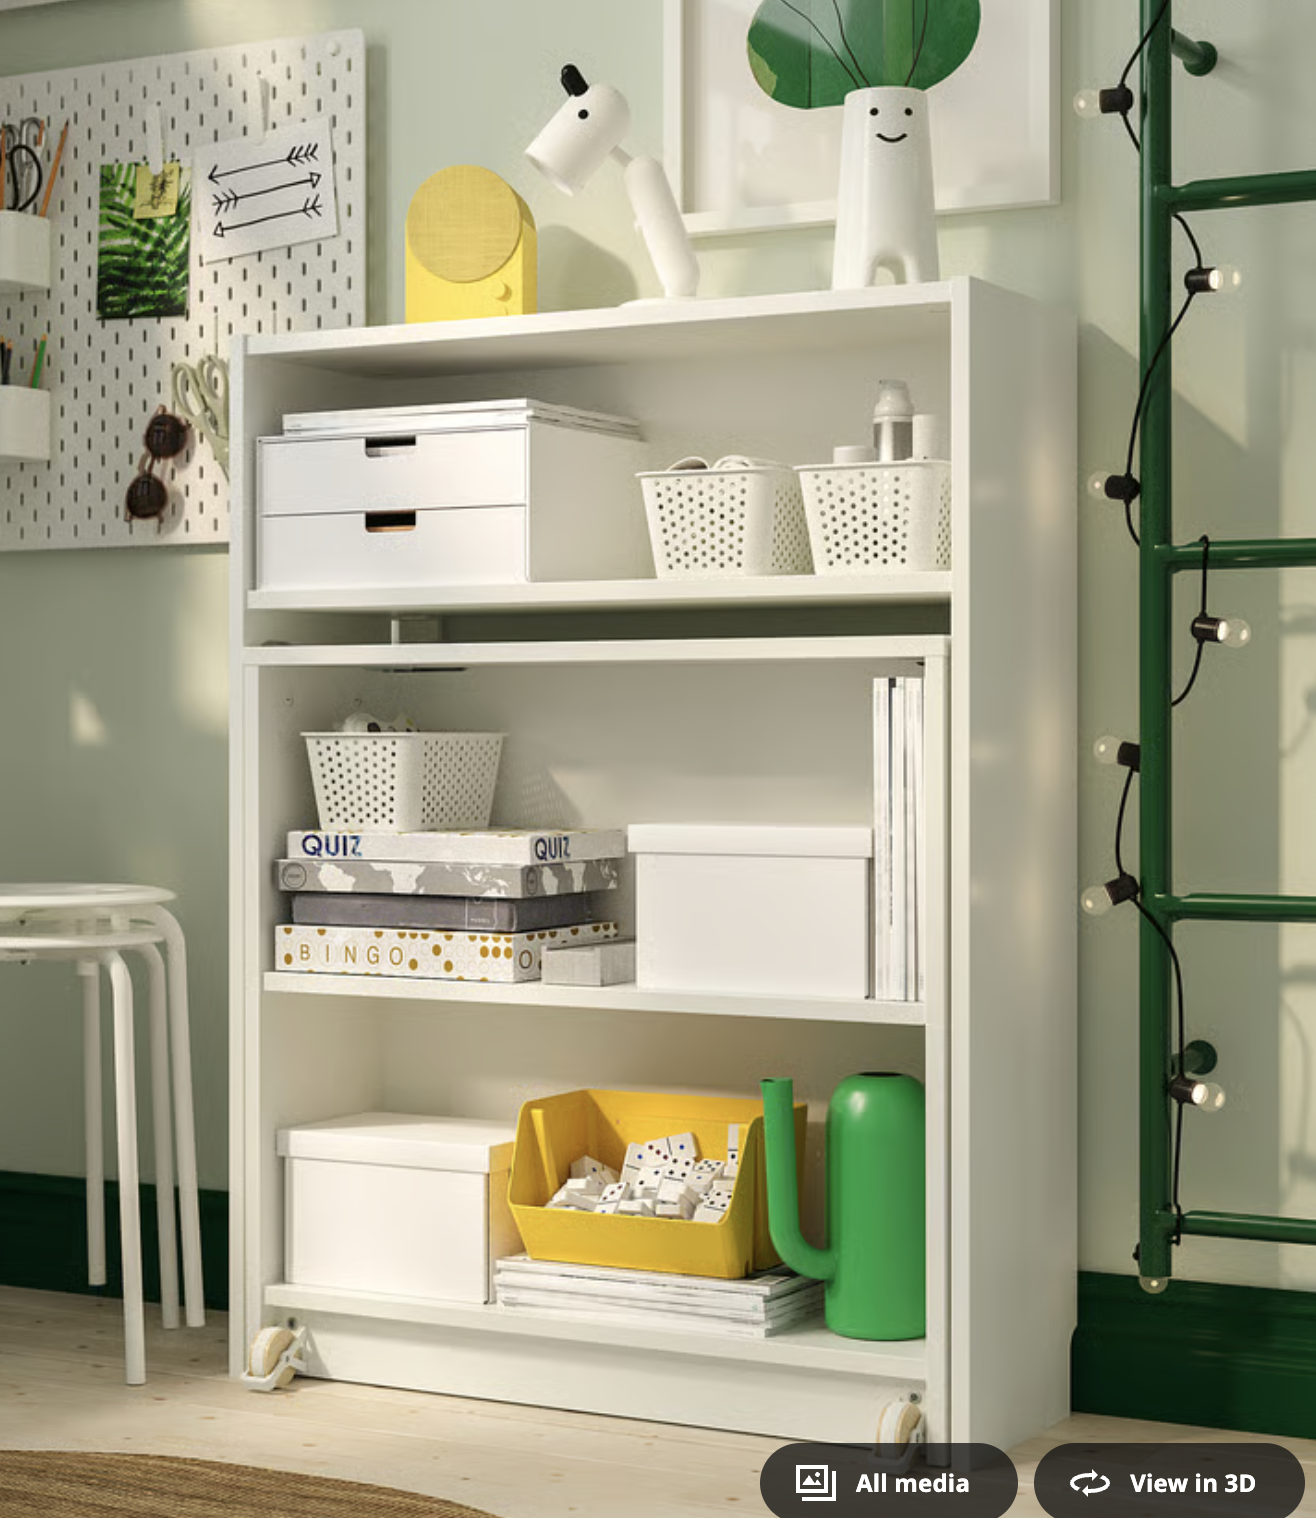
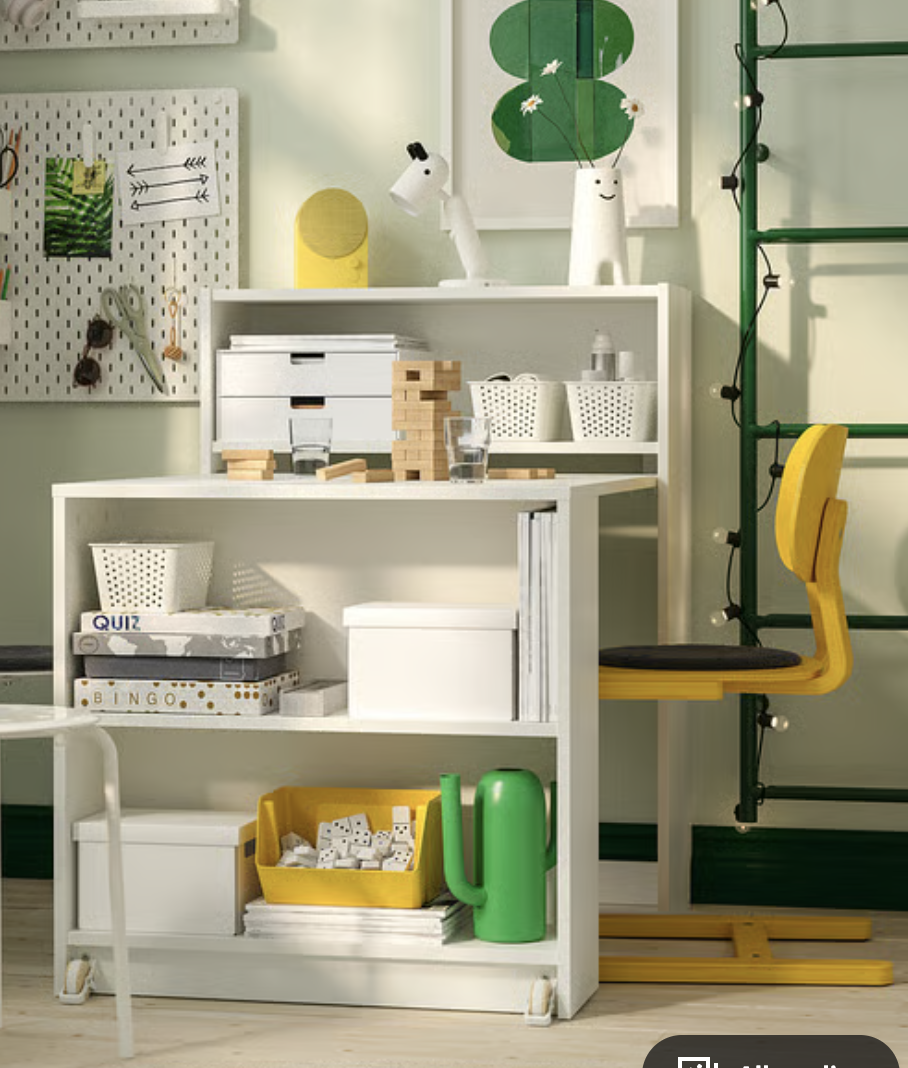
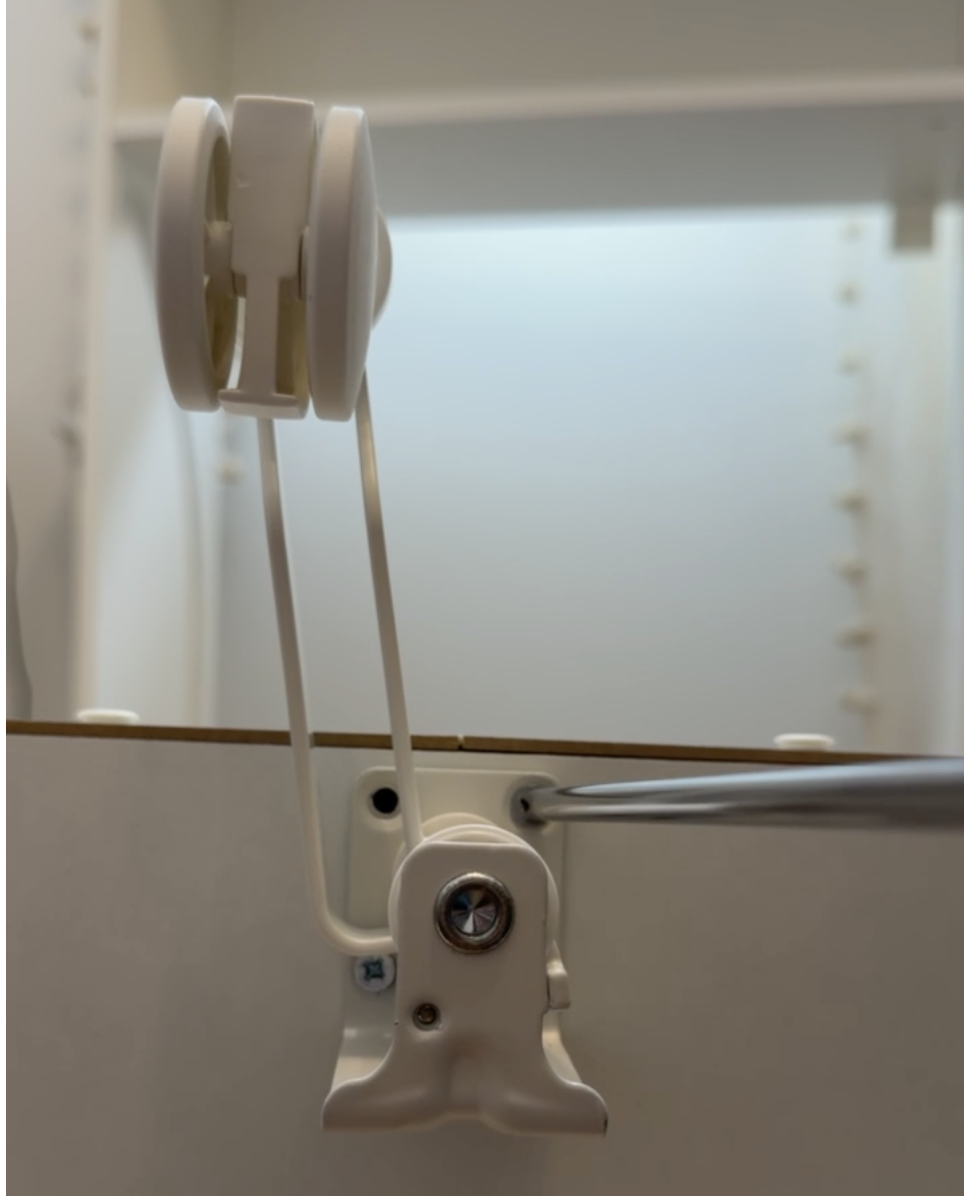
I saw this shelf during my regular peruse of IKEA. (Which you can watch here.) At first this book shelf just looked like a book shelf but upon further examination, it was also a table!!! It took me a while to figure out how to extend and collapse the table (user error) but once I knew how, I saw the potential!
My biggest mistake was not buying it the first time I saw it. I went home but couldn’t stop thinking about it. One thing kept echoing in my head.
My very own crafting table.
I have so many craft supplies that were all over the place. This was my chance to get organized and have a place to craft that’s not in the kitchen! I did not think I had space for a craft room but this could solve that problem! When I finally decided to pull the trigger, of course, it was sold out. But there was one. Just one. Downtown Toronto and I had to get my hands on it. When I did it was time to begin building.
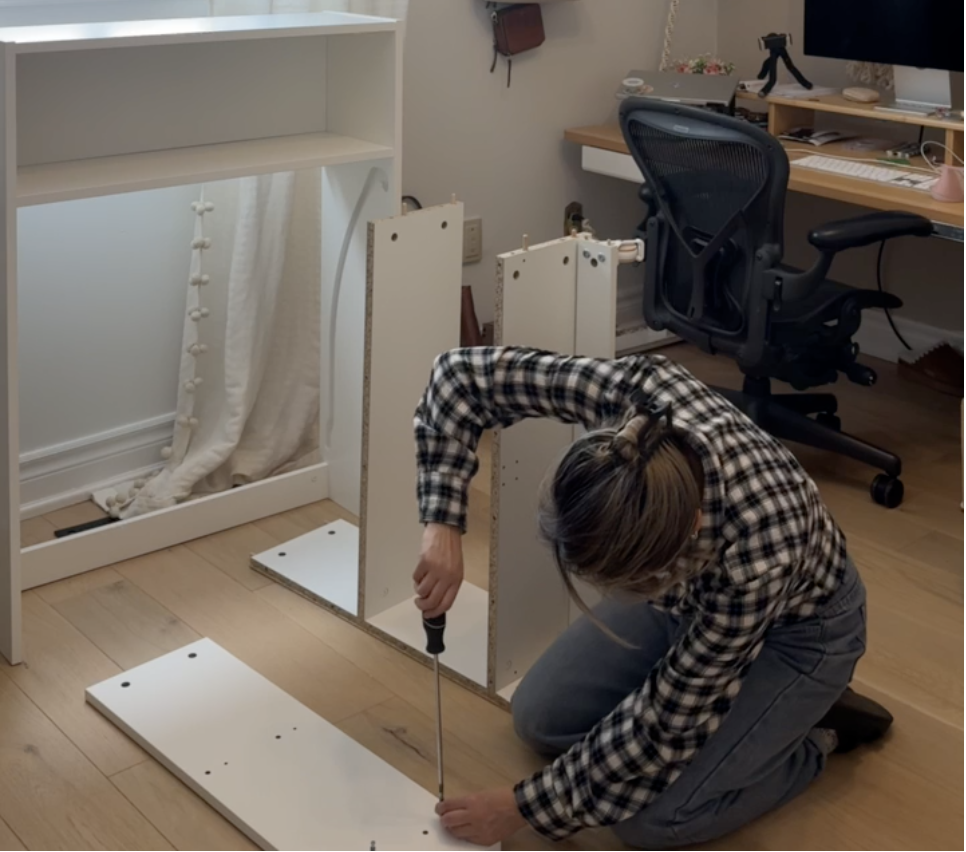
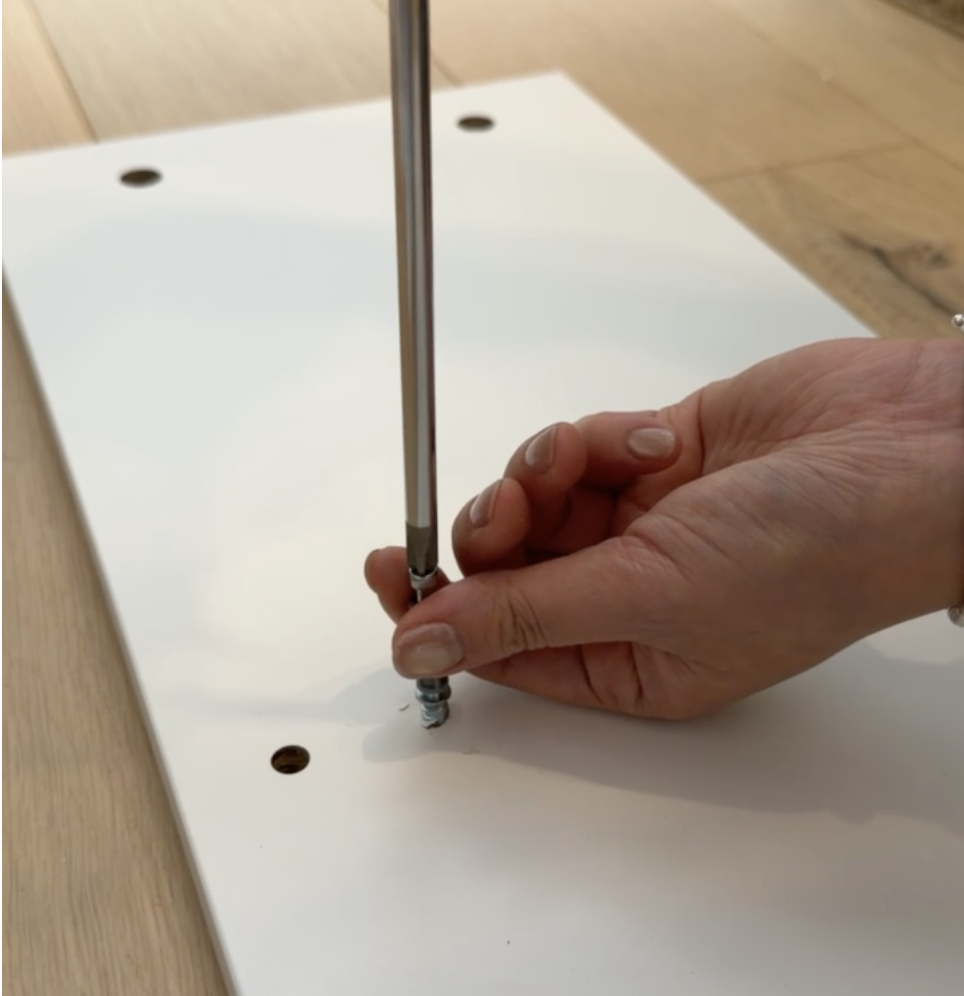
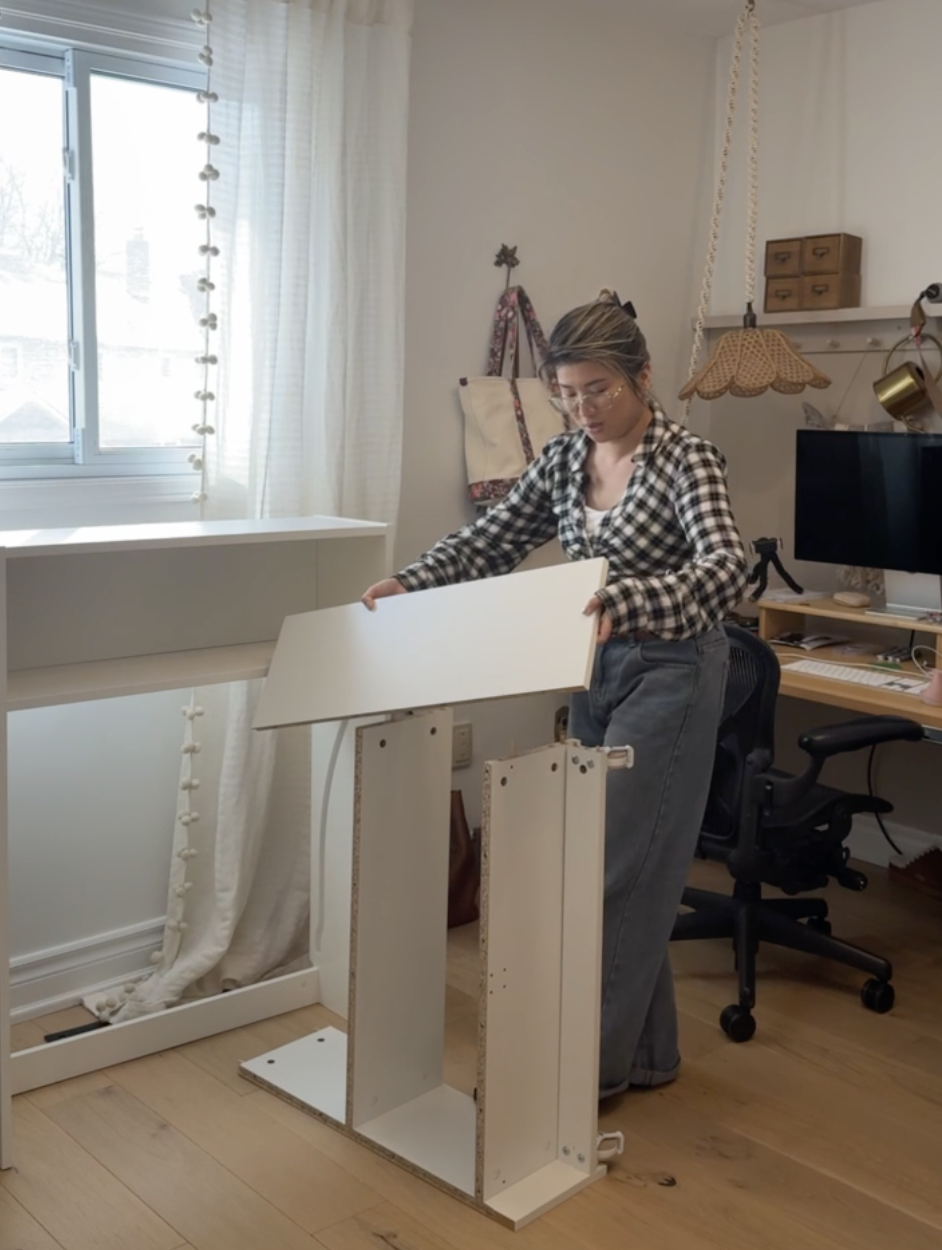
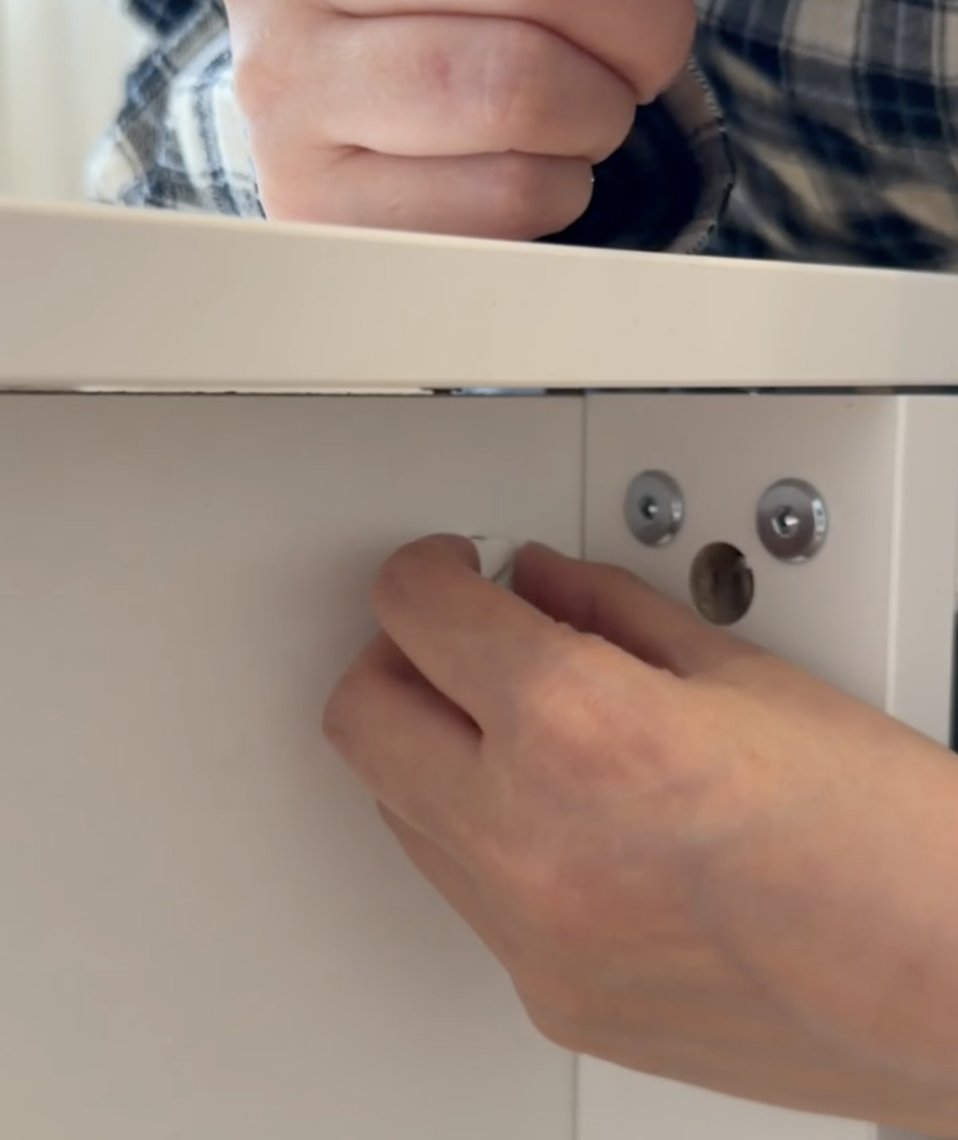
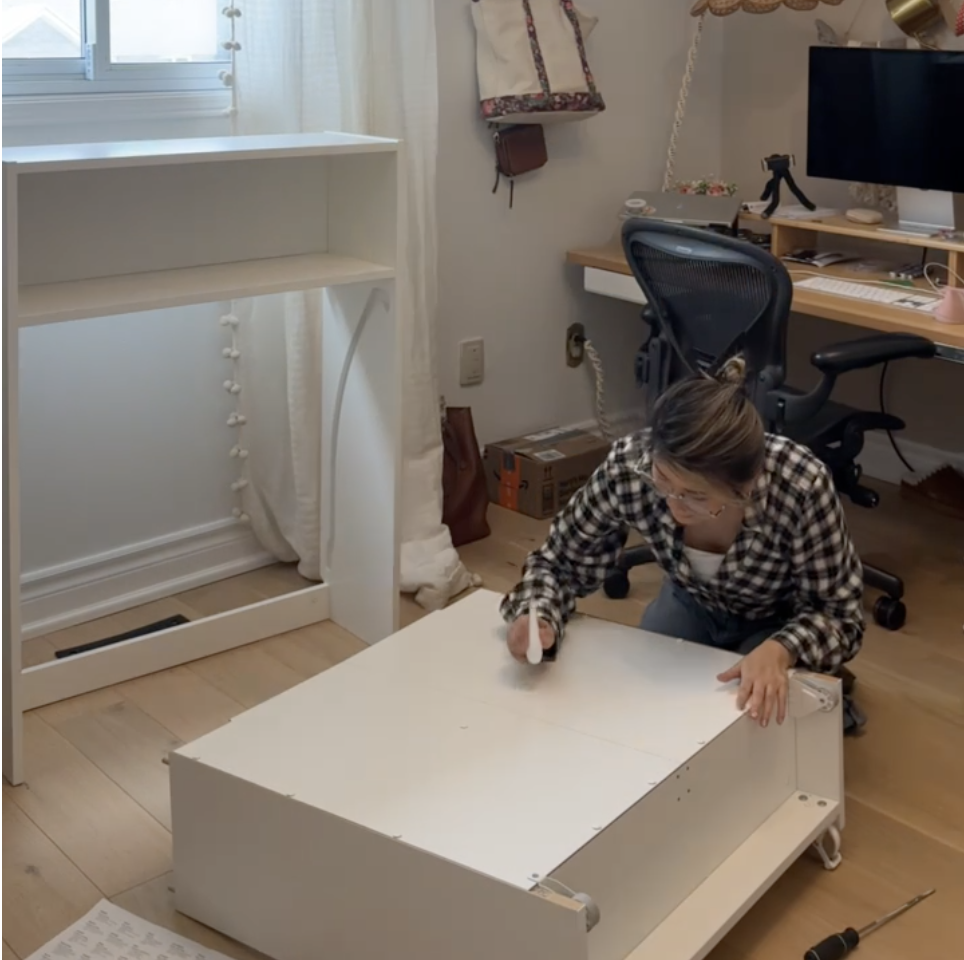
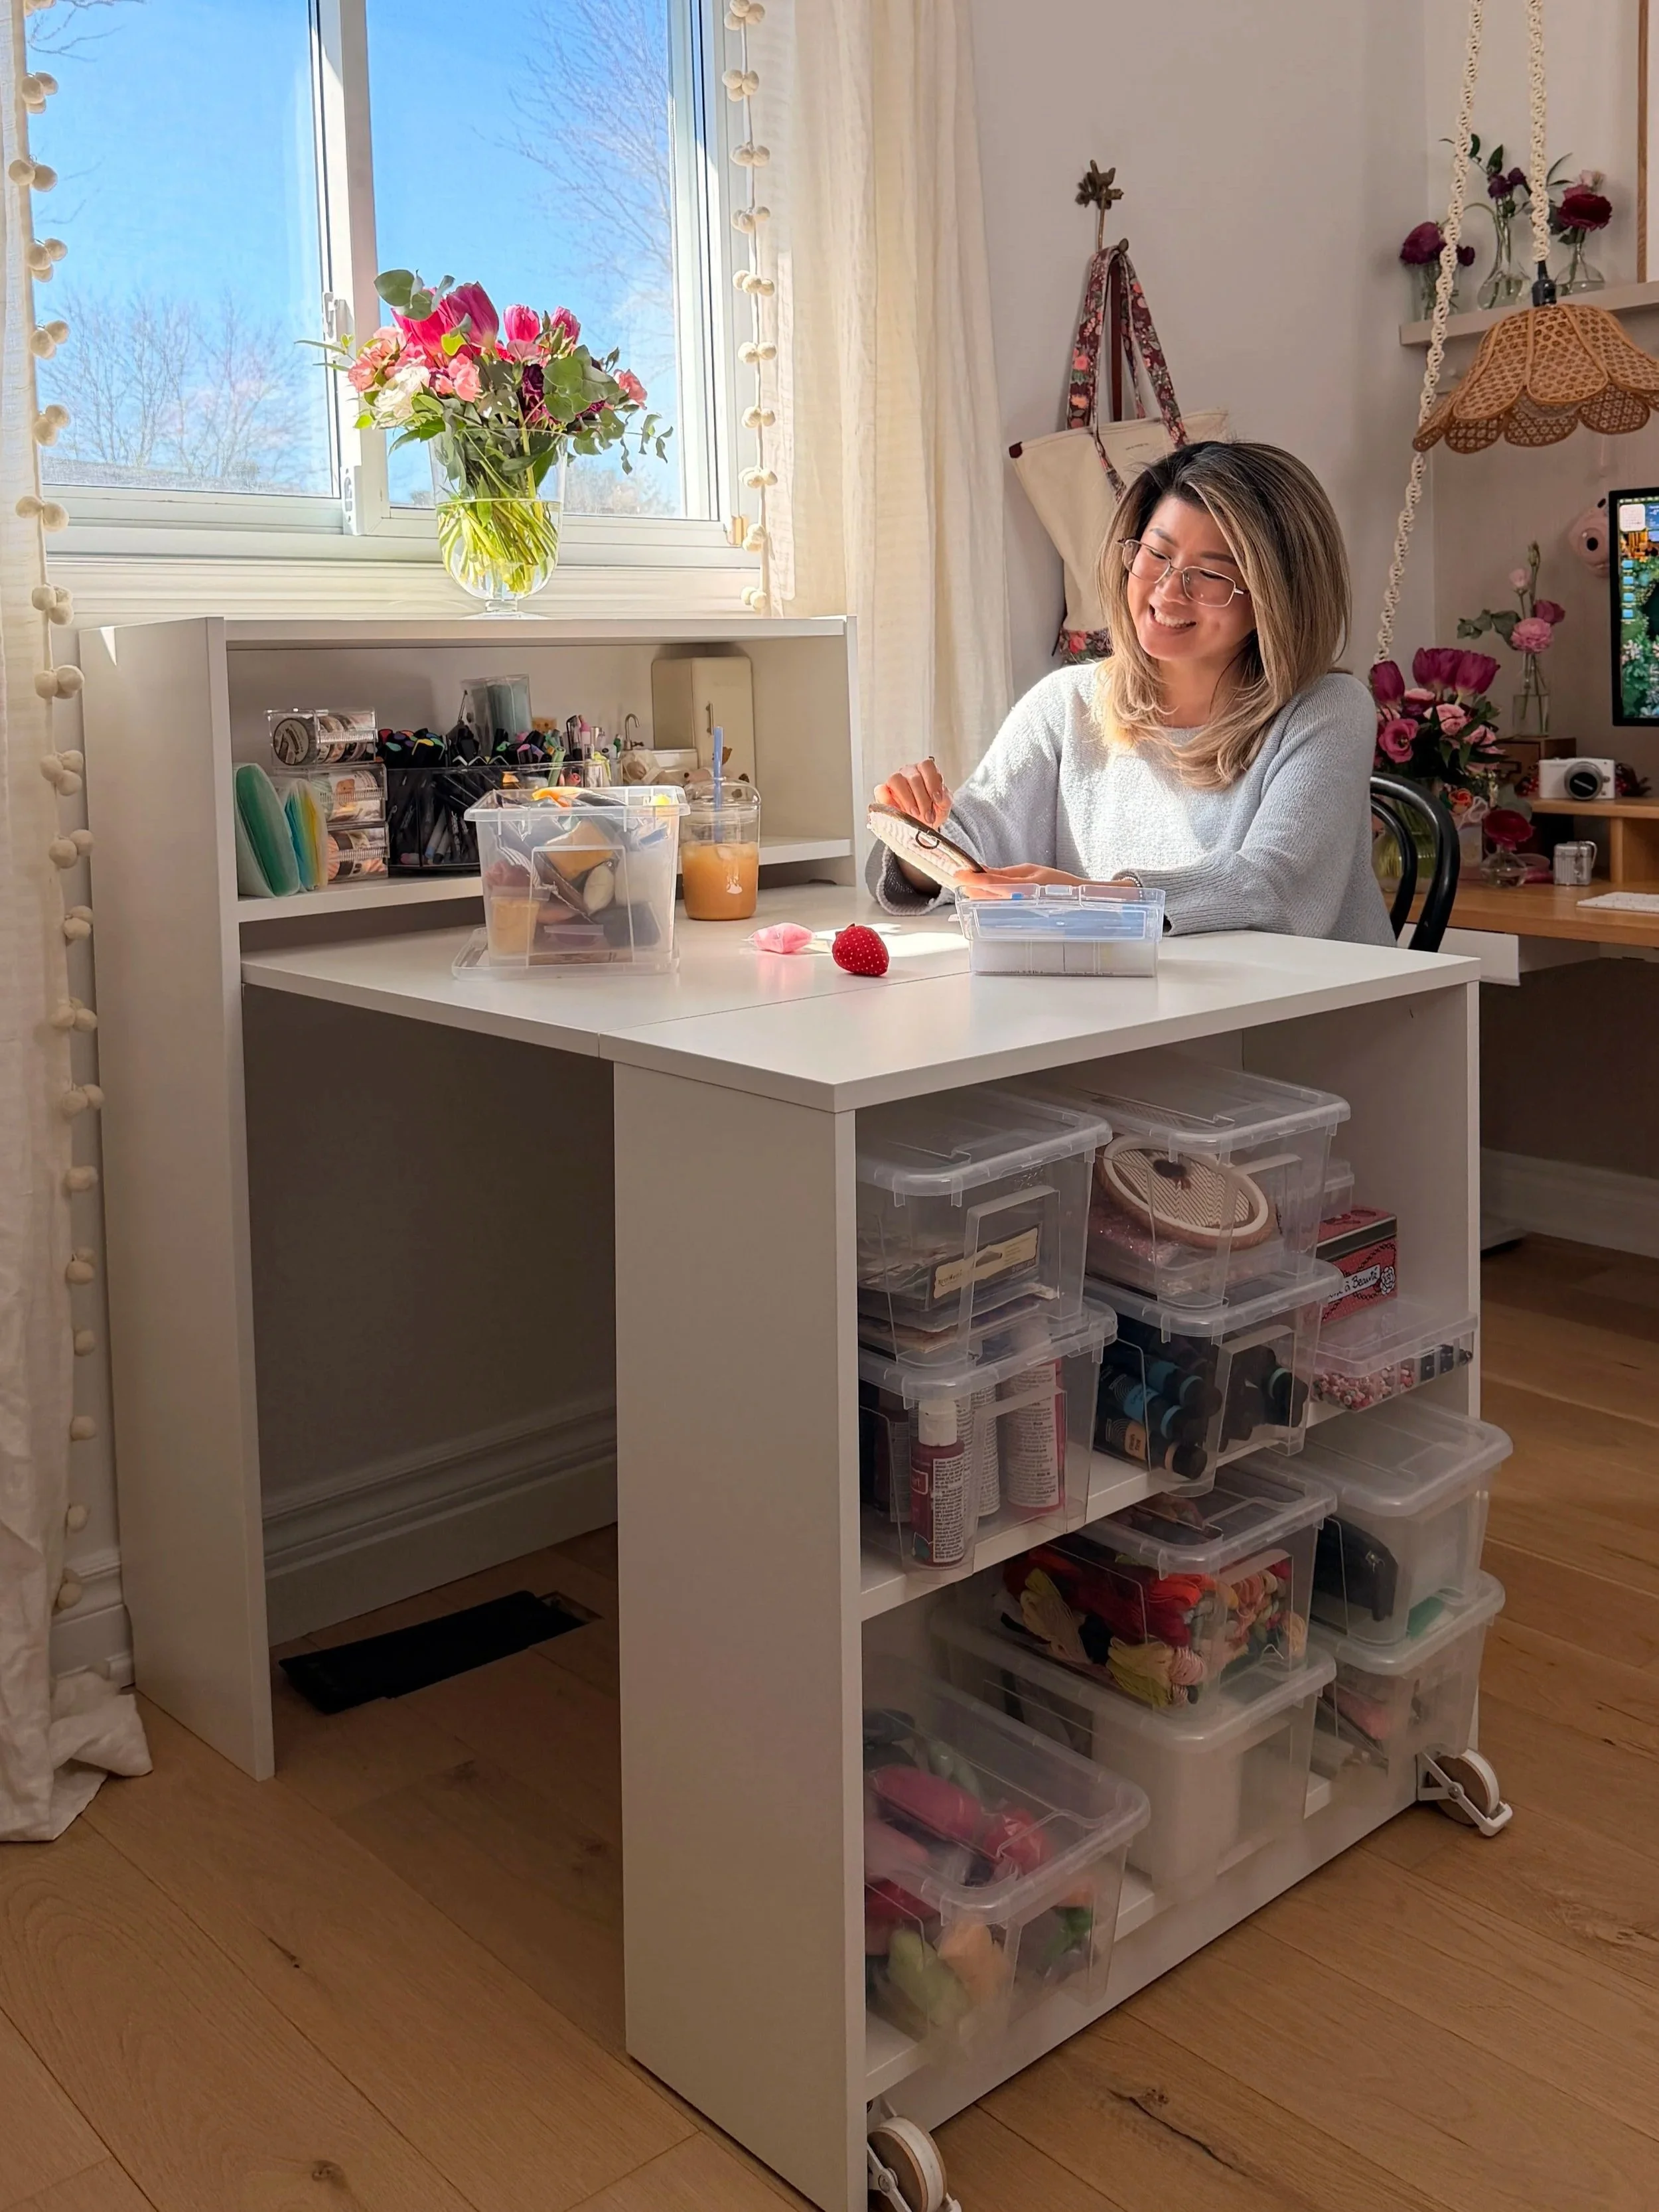
Nothing like a quick IKEA build to inspire confidence in my handiwork. (Let’s be honest, I was sweating and called in reinforcements.) But once it was built, it was my time to shine. Time to organize and set up my cozy crafting station! I wanted to put things here that would work for both in its retracted form and extended table version. I made sure to include these 3 things for my crafting storage.
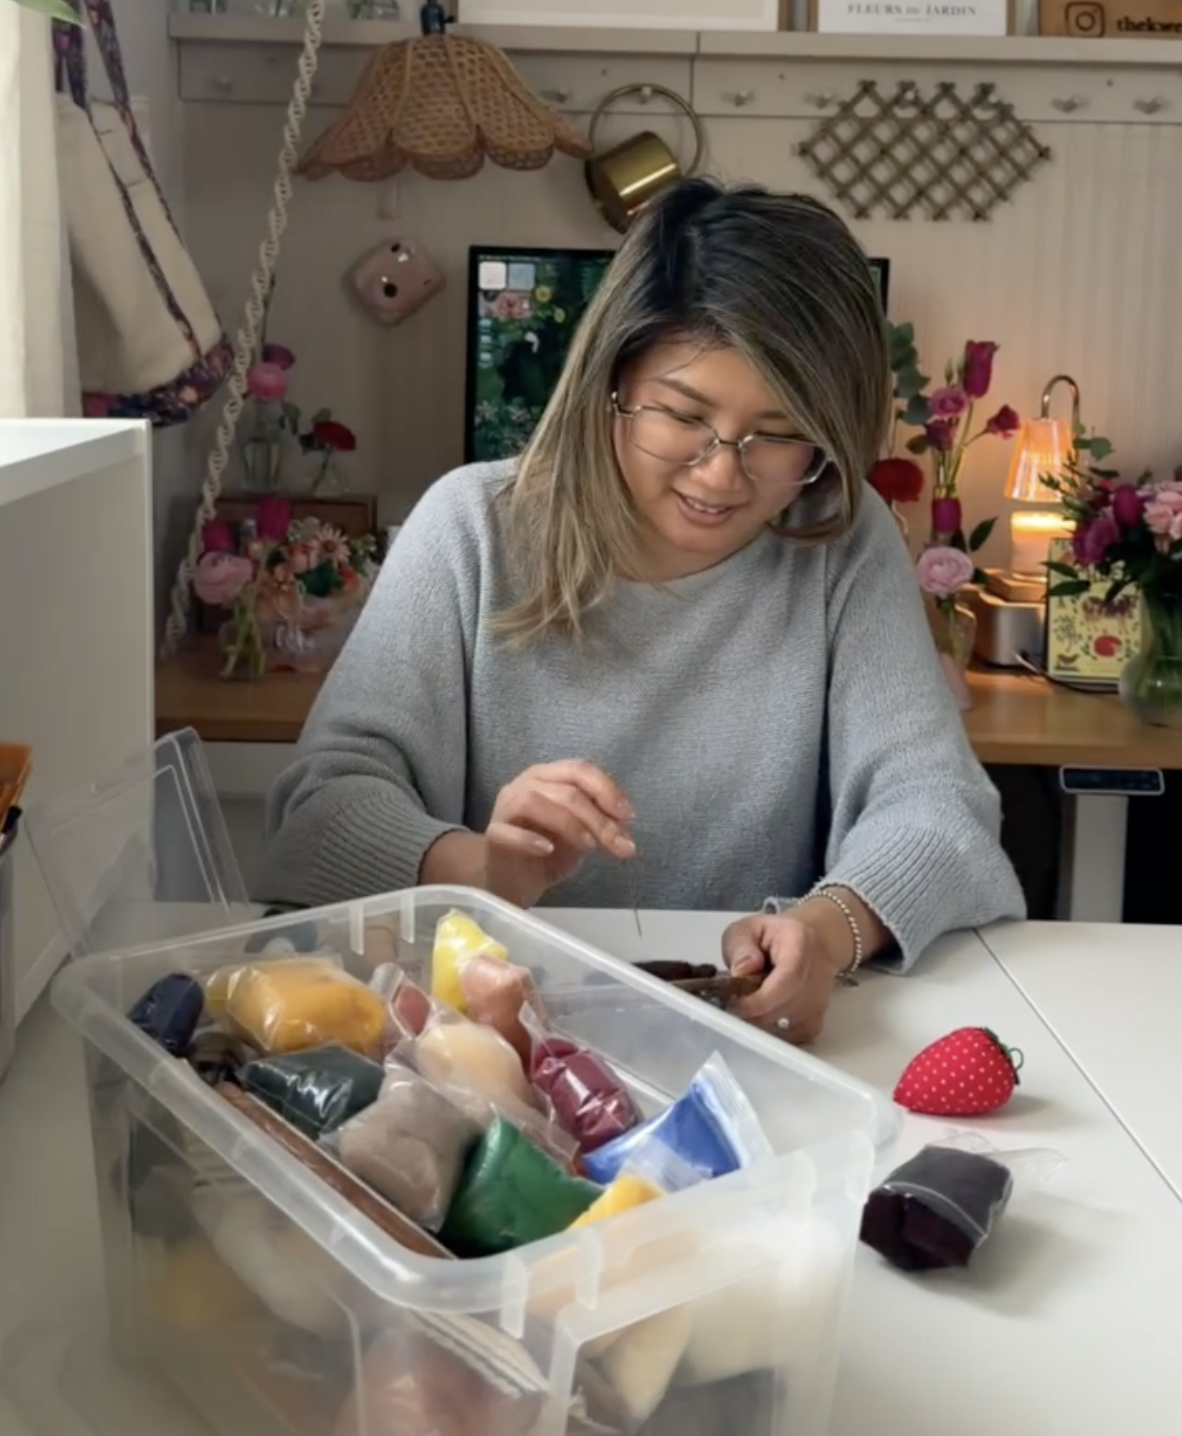
The storage boxes has to be in clear containers so that I won’t forget which crafts I have in the works. (as someone who struggles with object permanence, this was very important to me. If I don’t see something in plain sight, it doesn’t exist in my head.)
They had to be stackable so I could properly use the vertical space of the shelves and easily access everything.
The top shelf doesn’t move with the table, so I plan to have all my most frequently used crafting tools and supplies here. (I got creative with this one.)

And voila! My storage shelf is stocked with all my crafting goodies. There are definitely some more storage hacks I want to try implementing. Let me know if you have any tips! For now these are sturdy enough so that when we extend the desk they don’t move!
As for top shelf I decided to use this lazy Susan organizer to hold all my markers, scissors, pencils and paint brushes. Everything is just a spin away and it makes crafting so seamless and accessible. I don’t even have to move it!
I also used expanding accordion folders for all my stickers, scrap paper and cute die cut tags for scrap booking. This keeps things organized while also being a space saver.
My beads are all in small containers that fit into this clear organizer. (Notice how everything is in clear folders, bins, containers. That way I can see everything at a glance and remember what I have when I’m getting creative and crafty.)
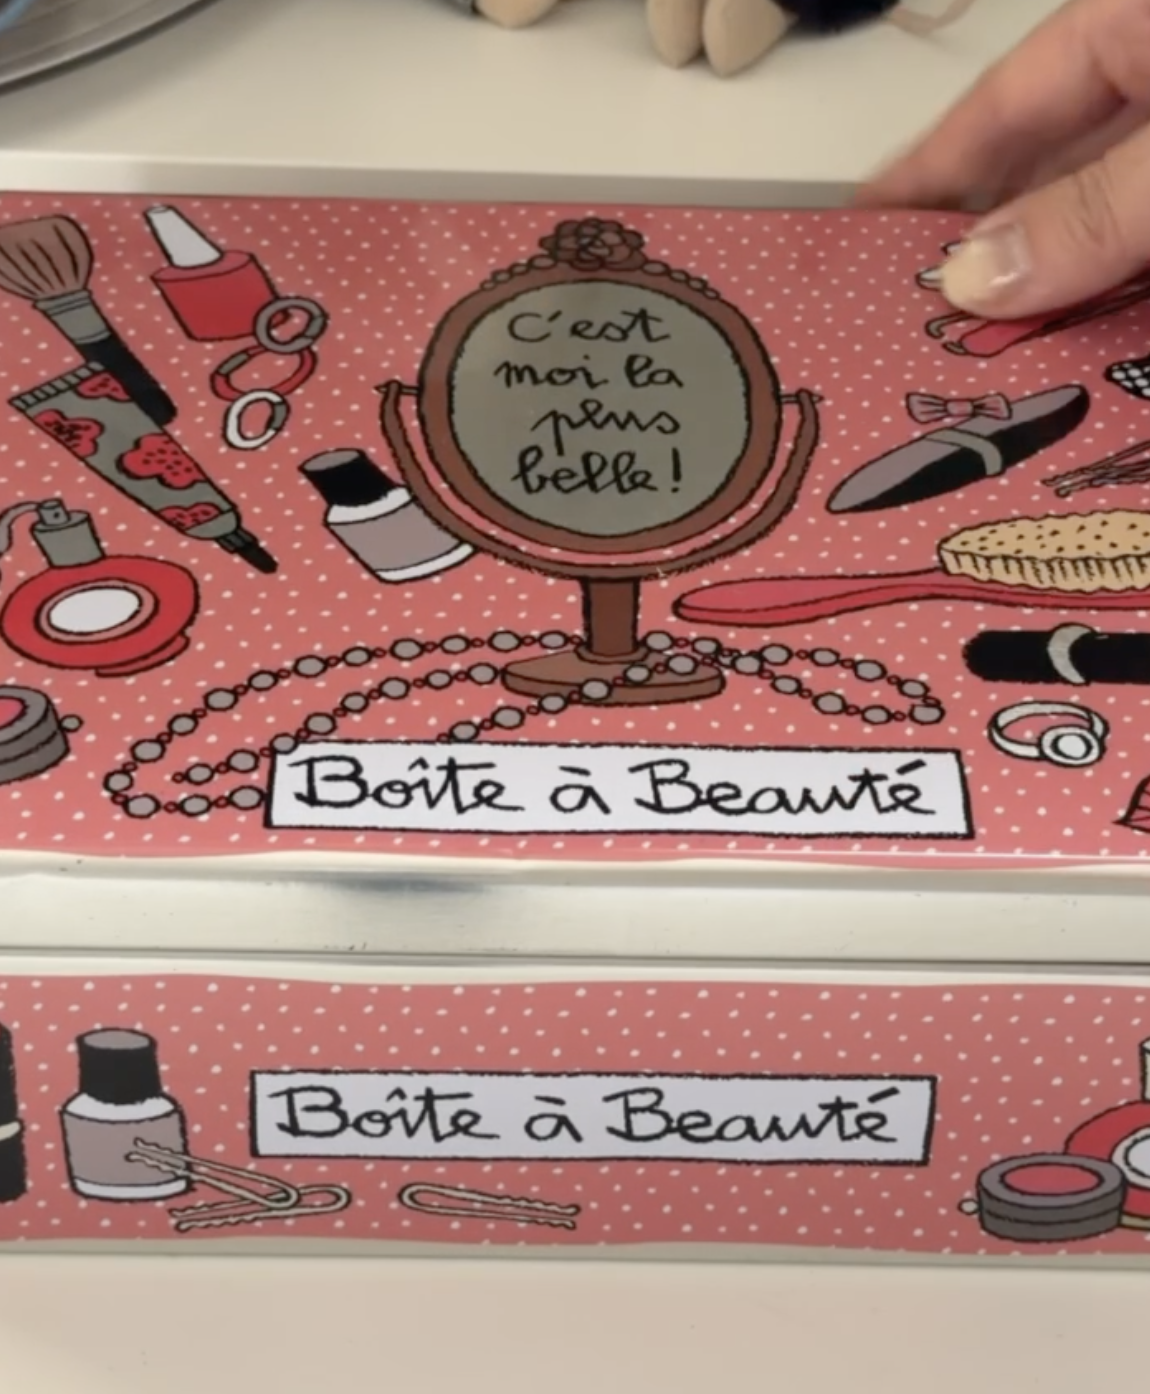
I also have a metal tin container for all my washing tapes I’ve collected over the years.
Last, I grouped all my supplies in clear bins. My polymer clay cut outs and tools went in one bin, my bedazzle kit and gem stones in another, my embroidery threads, needles and hoops in another bin. Every hobby and craft got its own bin to keep things neat. So when I want to do felting for example, I just need to grab the felting bin where I’ll have all my fibres, needles and materials needed for that craft!


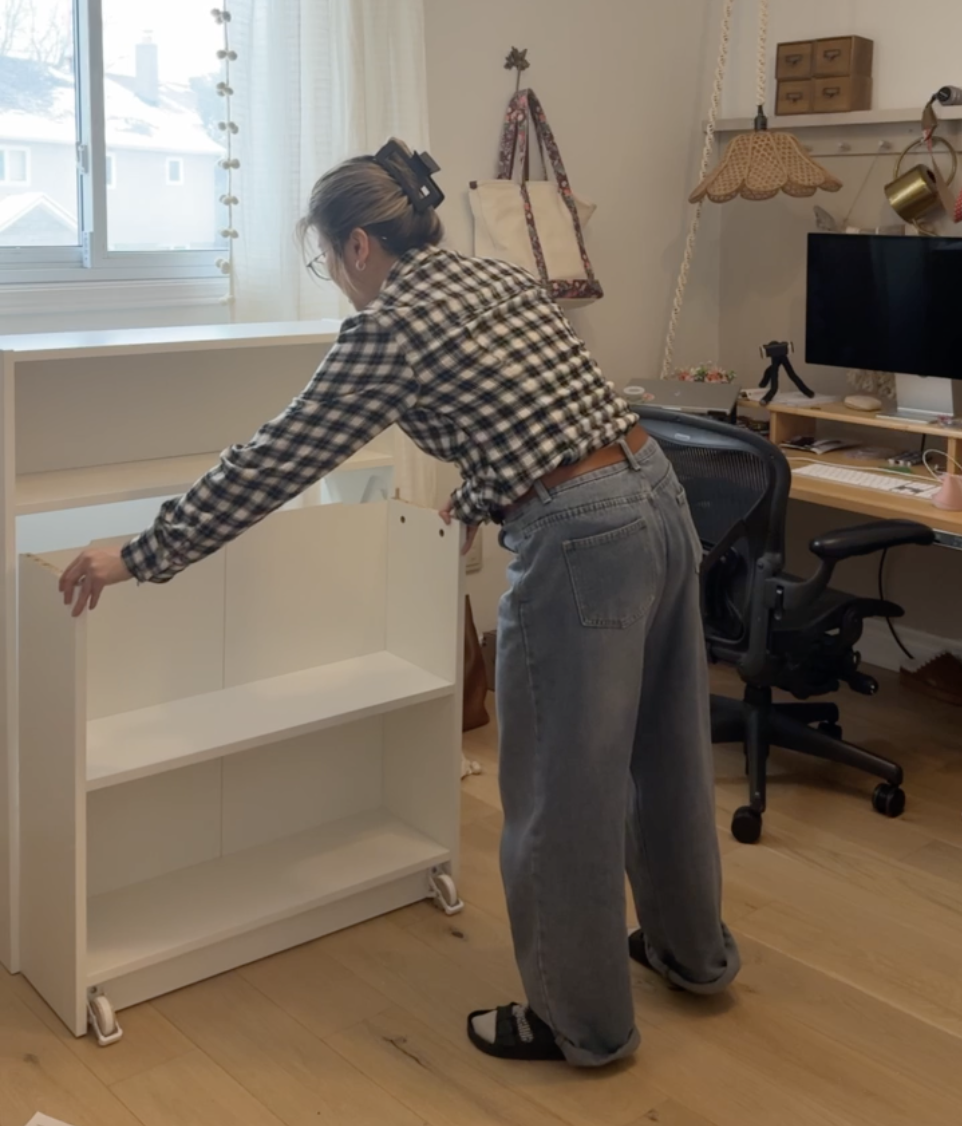
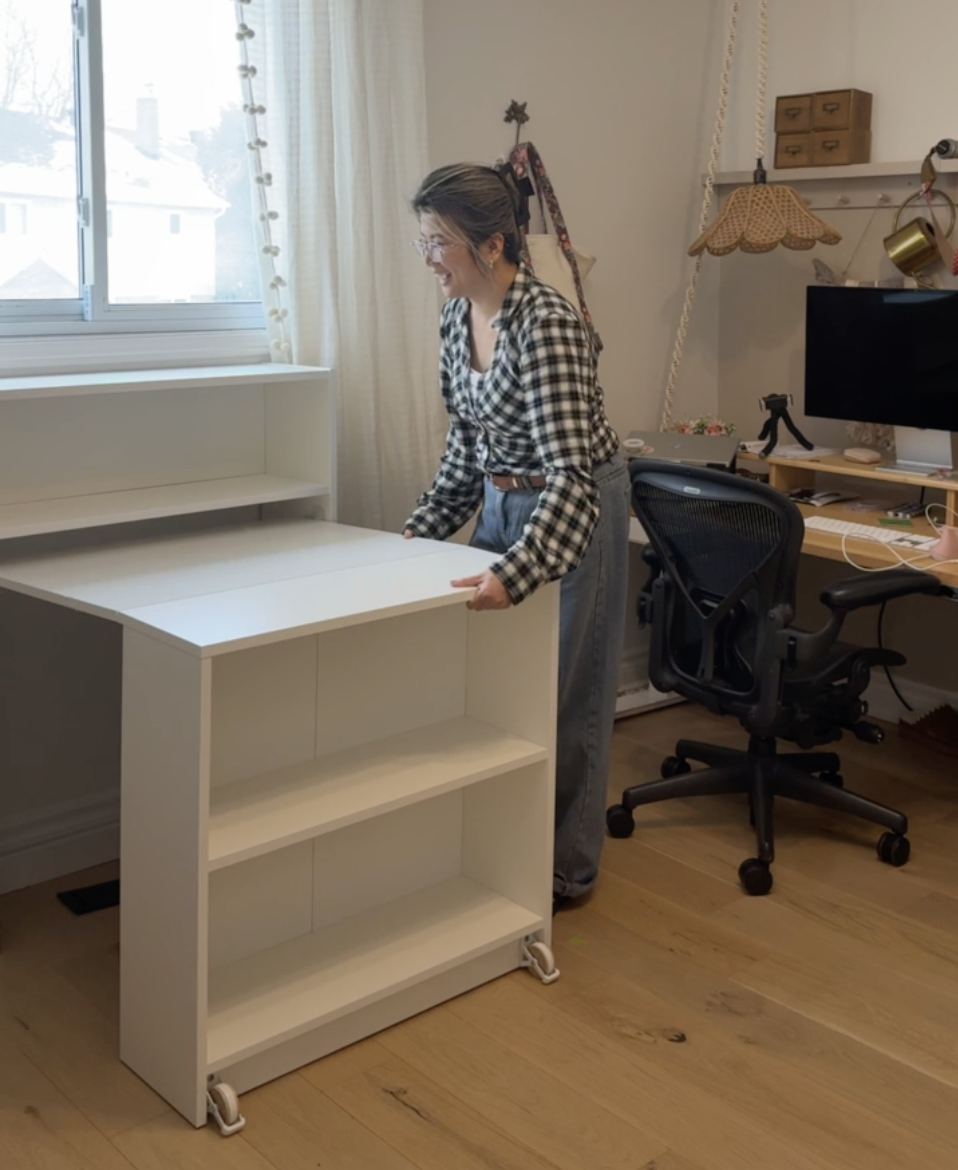
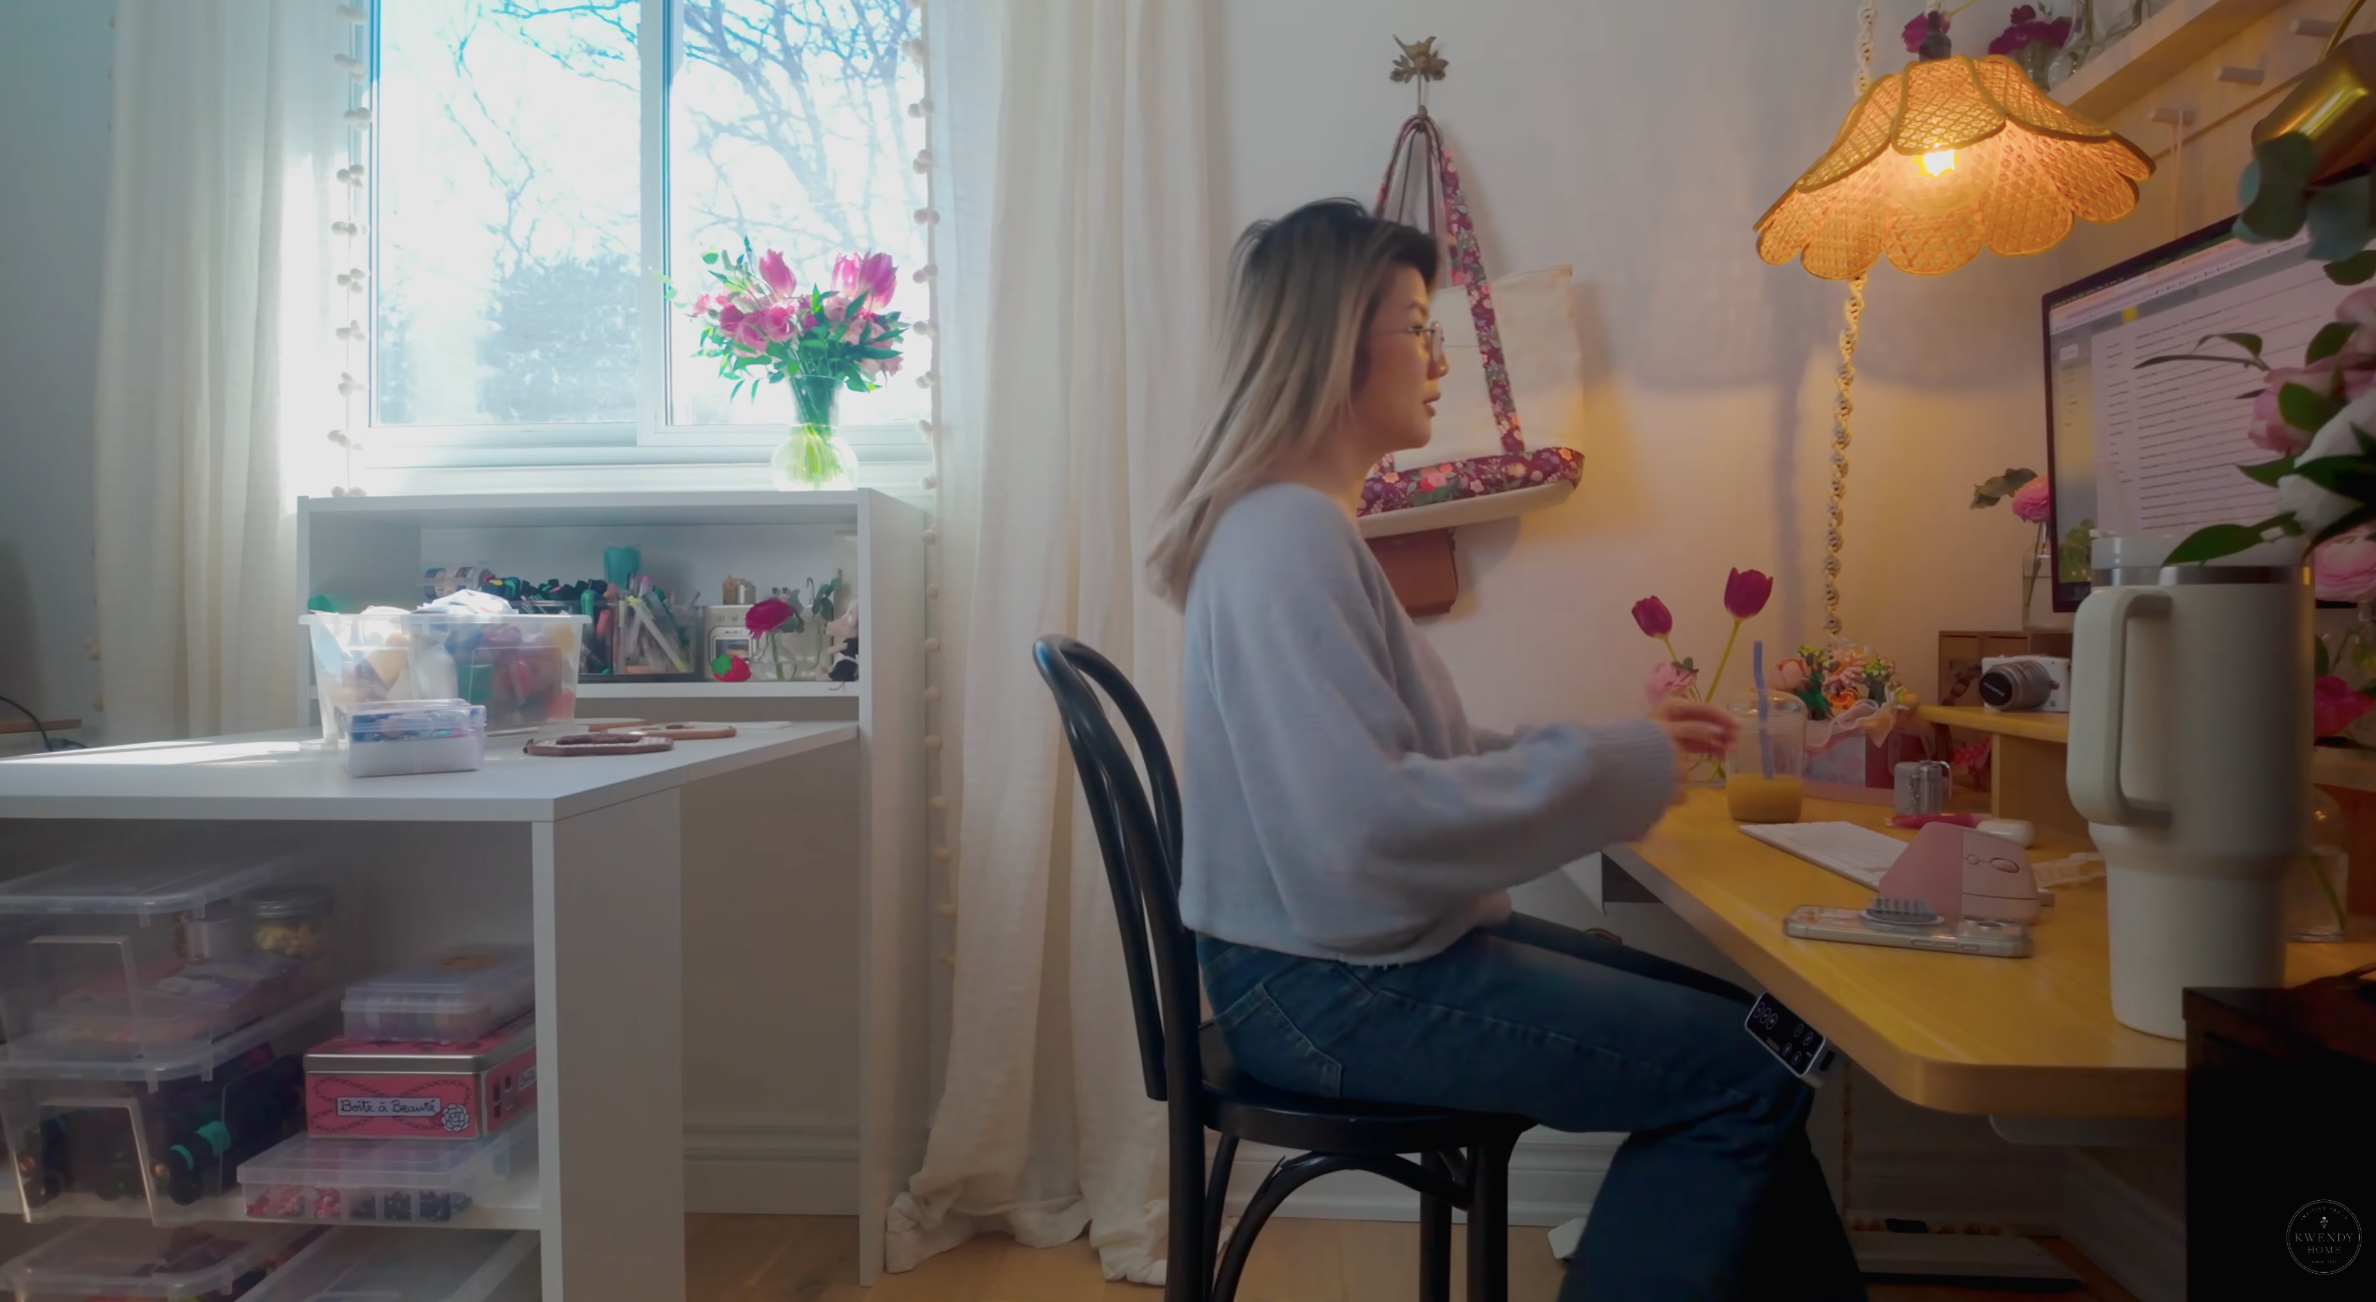
Now I have my very own crafting desk I don’t have to bring everything down to the kitchen anymore. I love it here because I can spin around from my work desk to my crafting shelf. Pull out the table and I can start crafting. When I’m done, I can tuck the table back in and have all the space I need for my office. It’s such a great storage solution piece while also being a functional work space.
Building the IKEA Billy Retractable Shelf was a breeze and I love it so far! It first perfectly in my space. Once it’s secured to the wall it’s also very sturdy!
Let me know if you have any questions and feel free to shop everything I featured in this blog here!
Hehe look at my 2 messy desks!