

Your Whimsical Home Dinner Menu
The cutest alleviation to dinner decision fatigue.
If you’re like me then you probably struggle with, “decision fatigue” at the end of the day. The last question you want to hear and answer is, “what’s for dinner?” Here’s a fun idea that @prettyinthepines introduced to her followers that has become a game changer in our home. It’s a house menu! This makes so much sense and I don’t know why I’ve never thought of it before! (I swear some of the best ideas are the ones that seem obvious when you see it.) A simple problem with a simple solution. And it’s the perfect whimsical touch that you can change through the seasons.
I love how this turned out! When I saw Shelby’s (aka. @prettyinthepines) take on this, I knew I had to try it for myself!. Putting it together is pretty simple. Here’s how:
Step 1: Menu Design
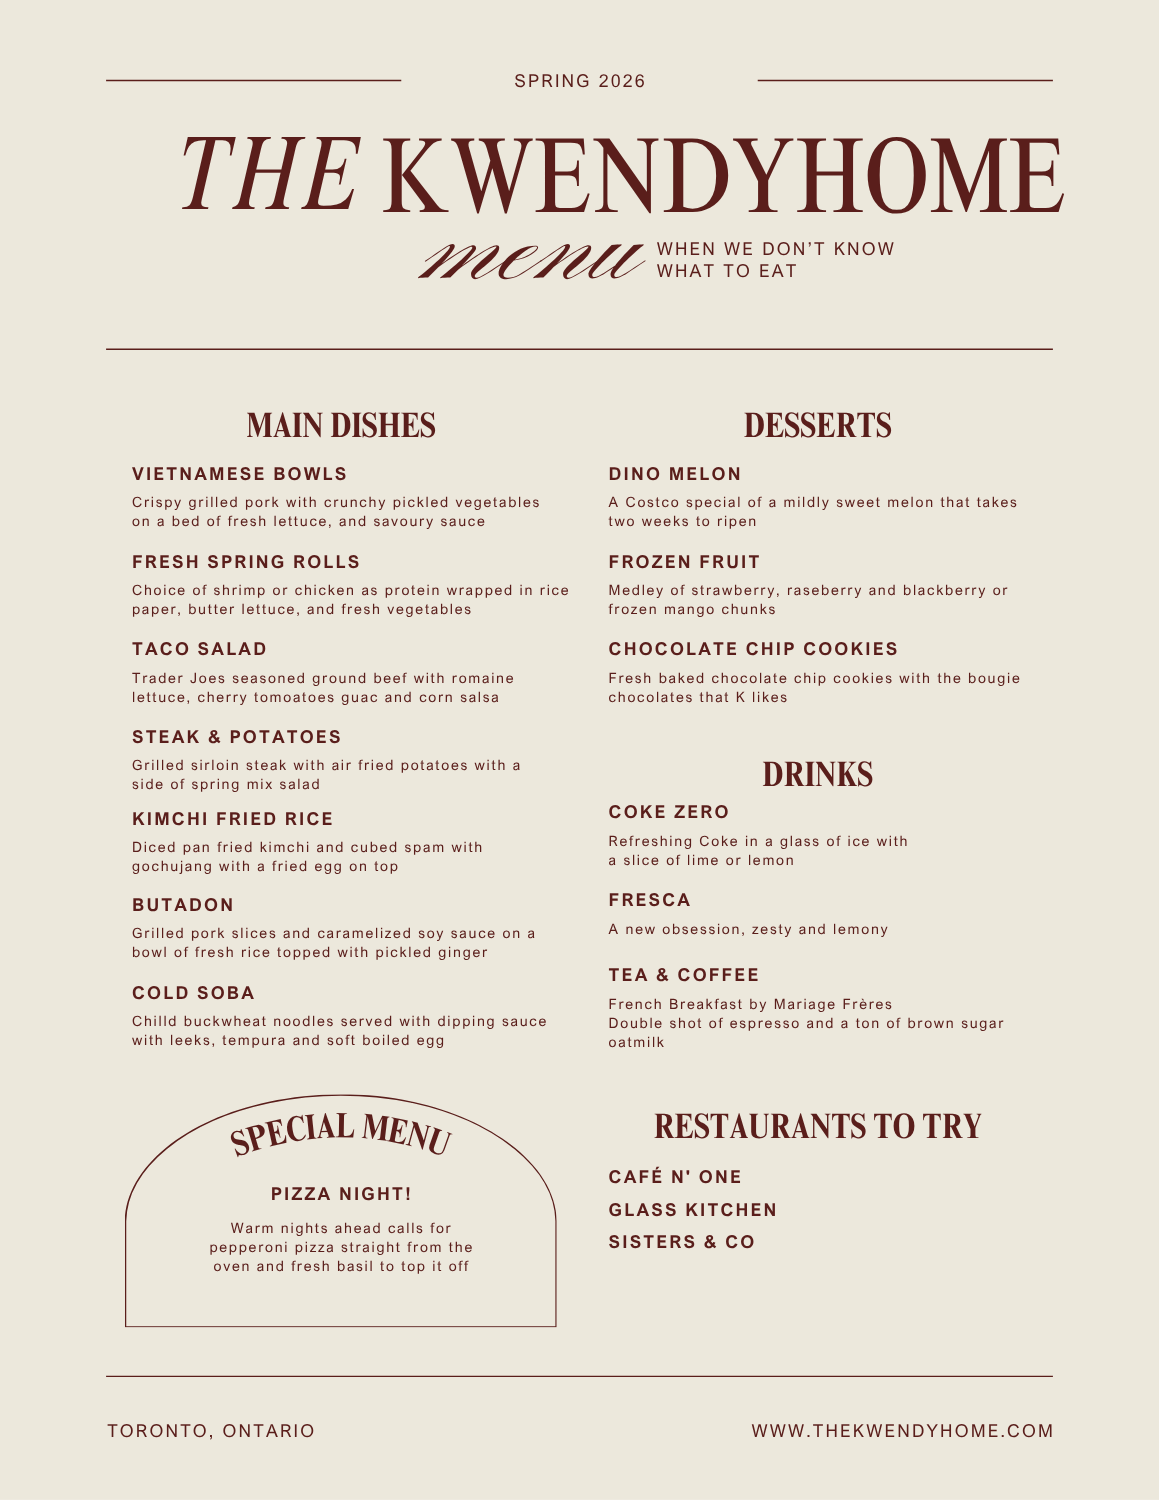
First you need to design your dinner menu. I found this cute template on Canva and I’ve linked it here for you along with everything else I used to make this cute framed menu.
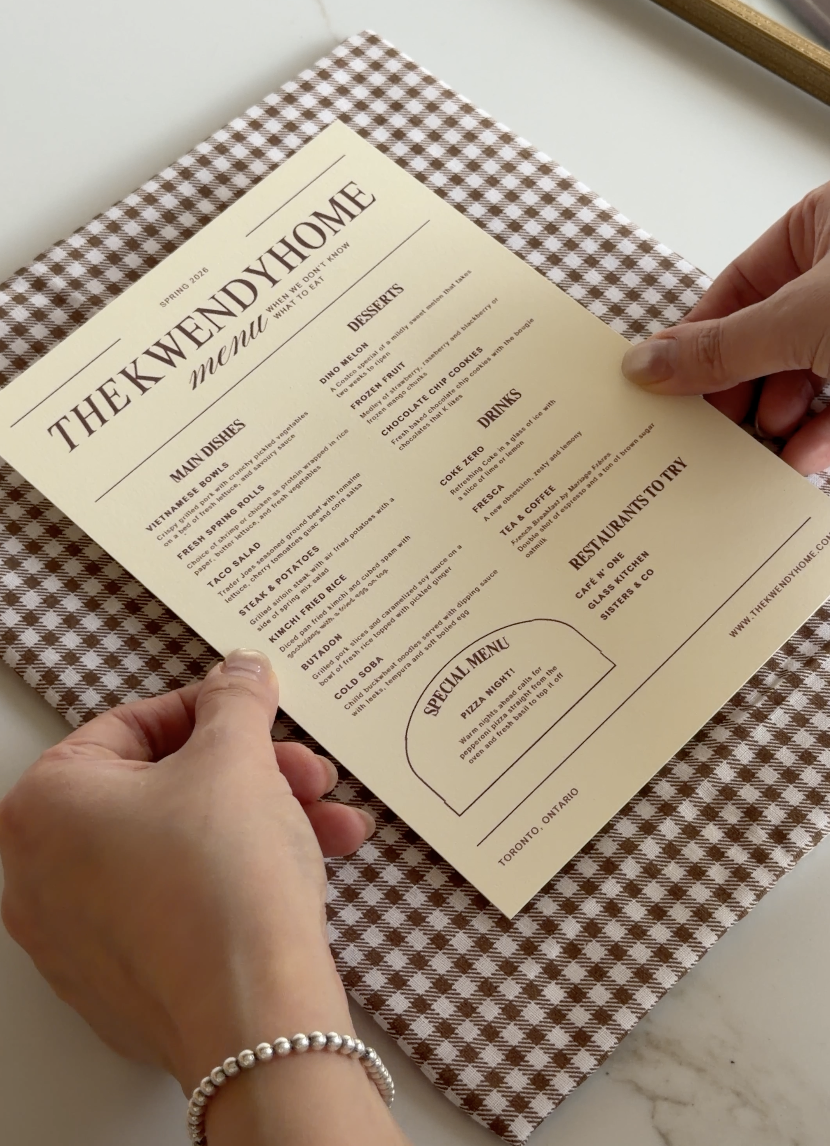
For my main dishes I listed all of my current, “hyper-fixation meals”. These are things that K and I can easily throw together and enjoy. We focus on fresh vegetables since they’re in season and more affordable during the spring and summer months. Someone asked if this is a meal plan, it isn’t! It’s to help us meal plan for the week so we will pick 2-3 main dish ideas from this menu and buy groceries accordingly! (As you can see I didn’t include a section for sides like a traditional menu and included it into the description instead. But feel free to reformat this template to your family needs!)
My desserts are always simple and somewhat guilt-free! I make sure to make them accessible and easy to reach for. I actually have a batch of chocolate chip cookie dough I premade and froze for easy baking. And we always have frozen fruit on hand but pick out fresh fruit for the week that I pre-cut and have ready in a container . Currently it’s Dino melon!
Drinks always change with the season. Coke Zero has been my mid-day pick me up for a while and I’ve recently discovered Fresca as a zesty and lemony favourite!
Lastly, everyone needs a night out one in a while so I added a Restaurants to Try to our menu. How many times have we’ve asked, “Where do you want to go for lunch?” with no answer? Well this solves that conundrum! I’ve listed a few cafe’s I’ve been wanting to try around town. I think this is a great way to keep track of the places you’ve been to and where you want to go next.
💡 Tip: Print your menu on a thicker piece of textured cardstock if you can!
Step 2: Framing
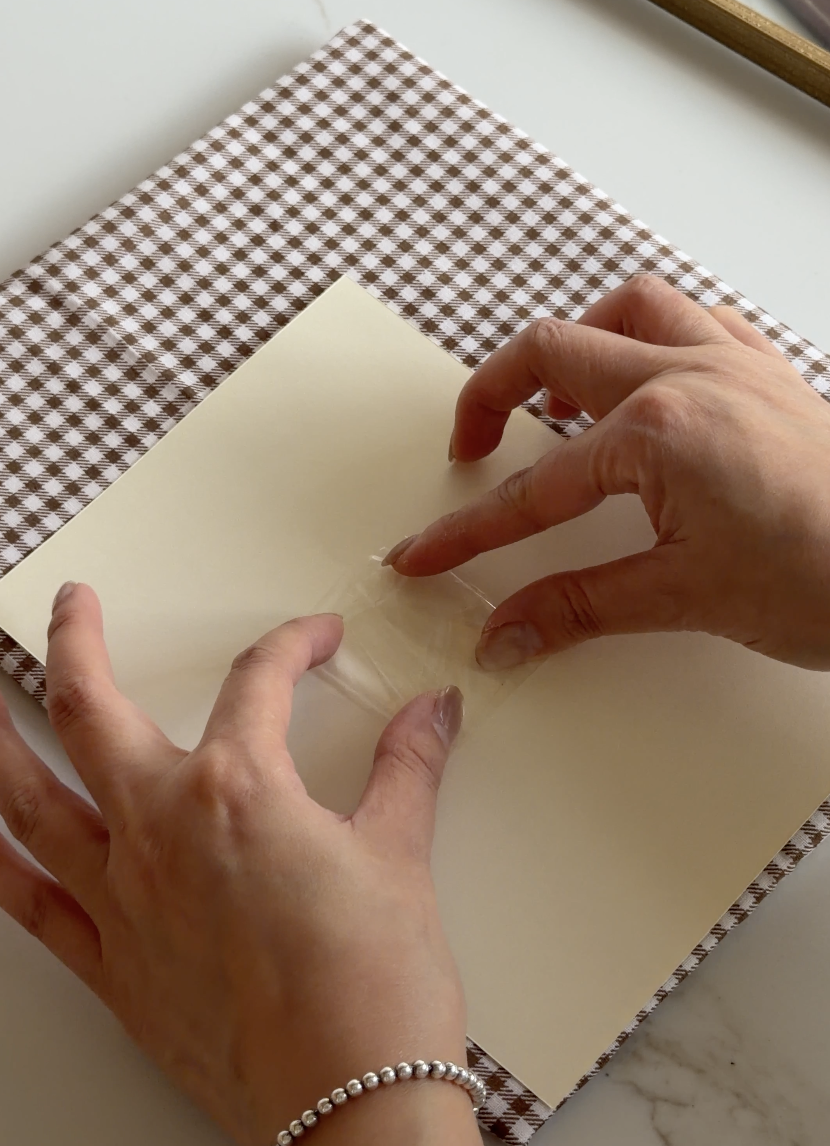
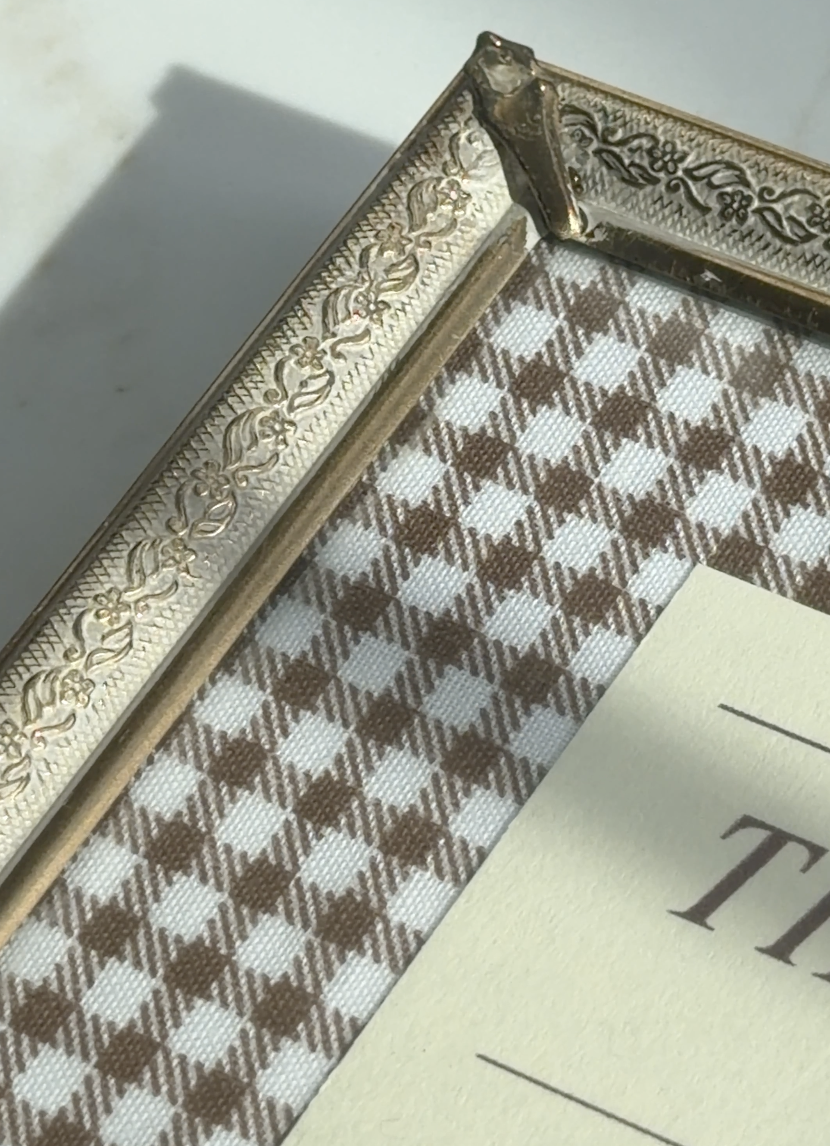
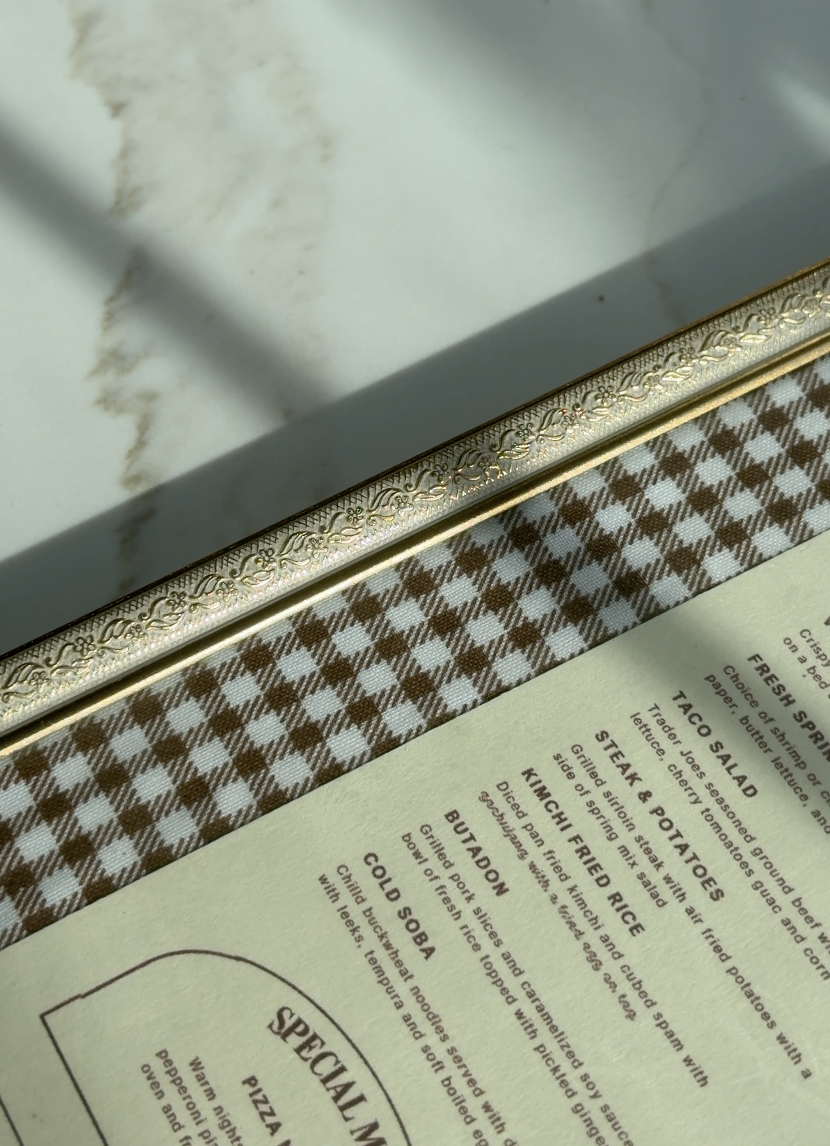
Next it was time to frame the menu. I chose this light brown gingham fabric to make a soft border around the edge of the menu. You can play around with different patterns and frame designs until you find something you like. I thought this design was perfect for spring! You’ll see below that I used clear packing tape…There is most definitely a more elegant way to secure the fabric and menu on the frame but this just hows that you can probably use whatever is lying around the house. (And I can save the fabric for another project if I don’t cut it up!)

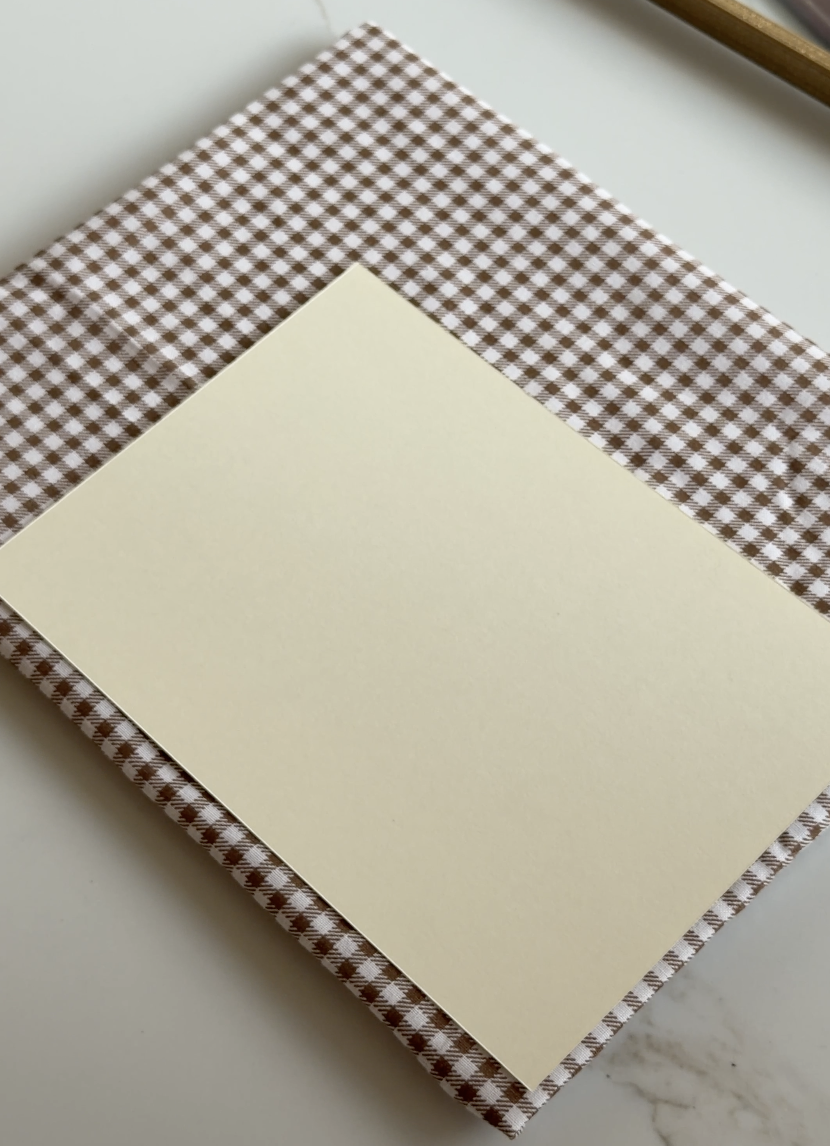

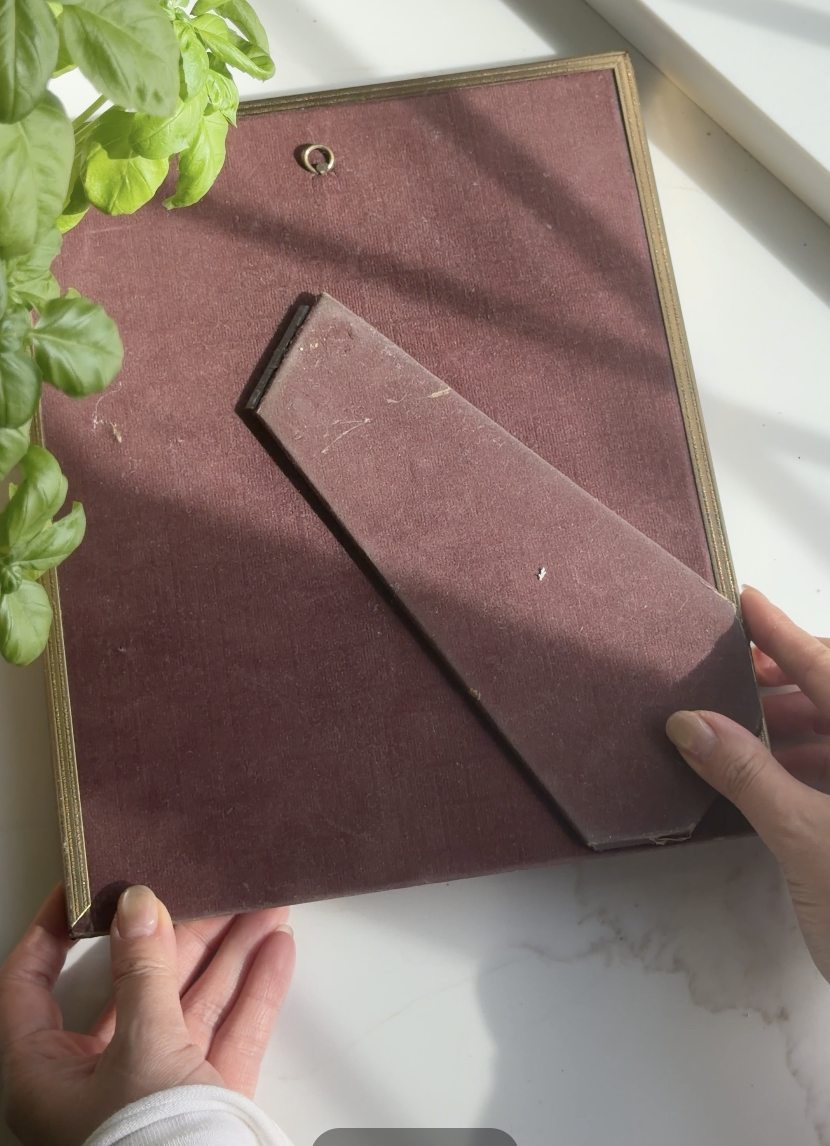
I thrifted this frame awhile back and I love the details on the frame. It’s an 8”×10” picture frame and I printed the menu smaller so that the border will show.
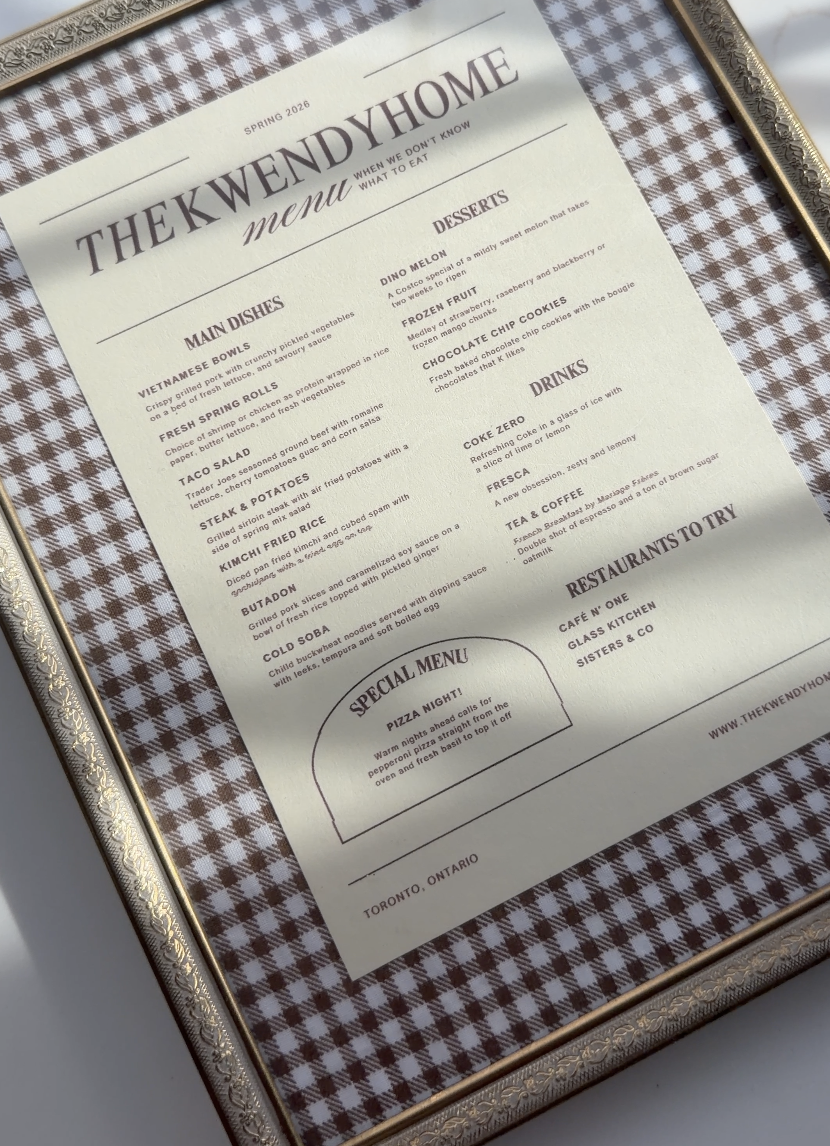
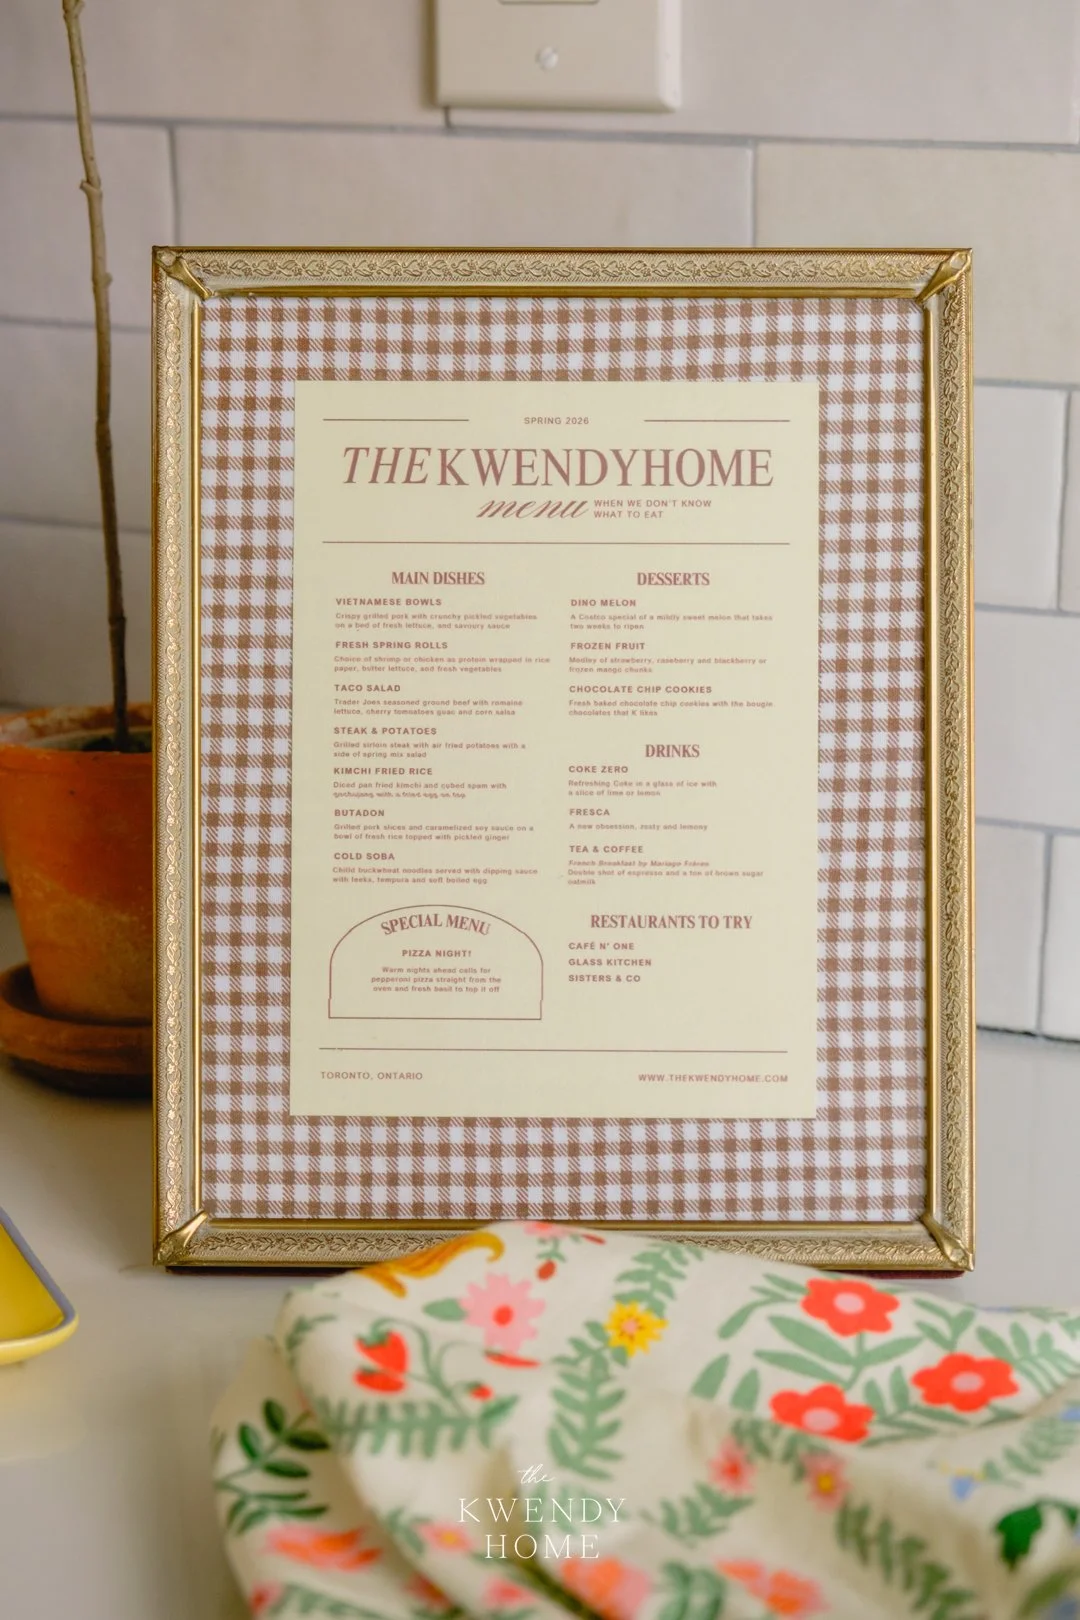
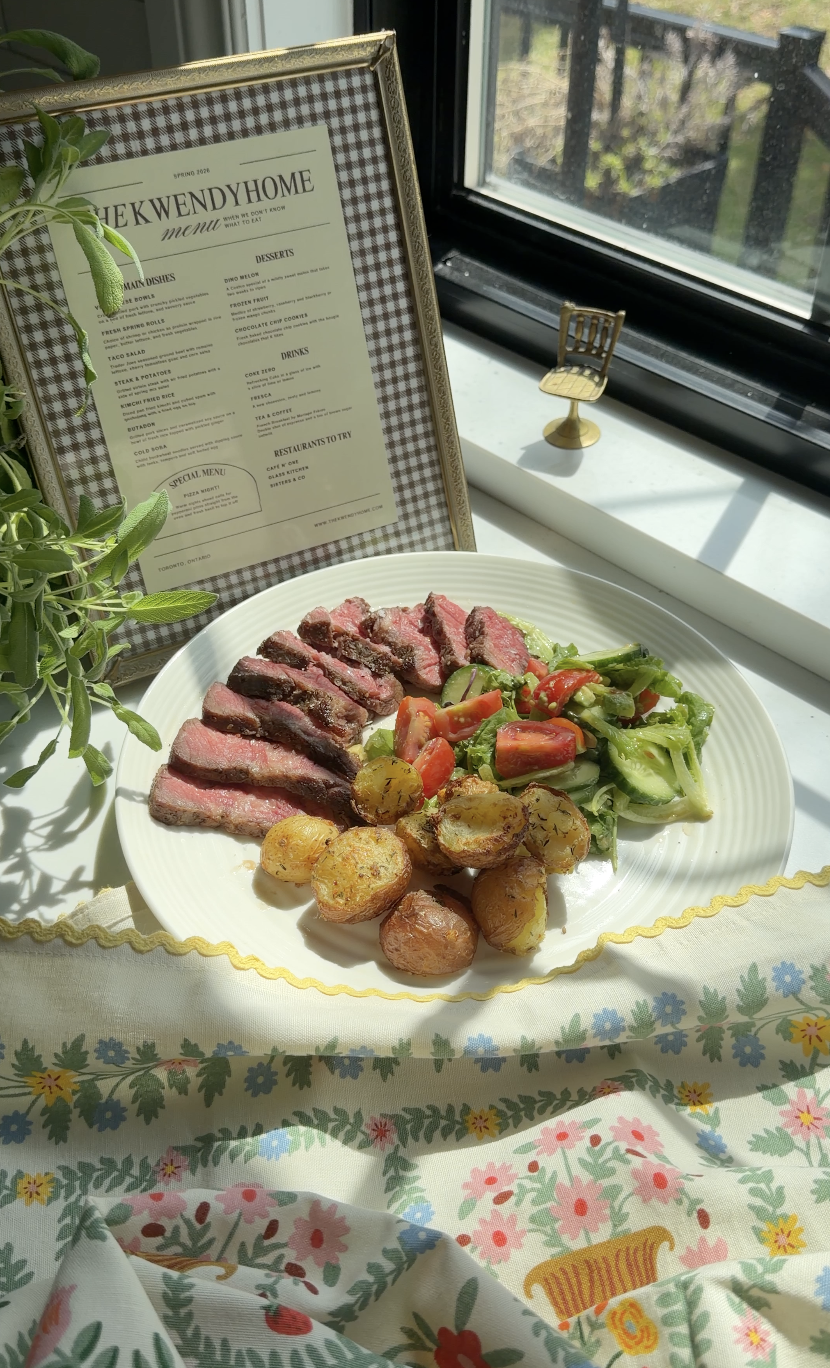
Step 3: Style your frame
I did say this was a simple DIY right? After putting it together all that’s left to do is put it in your kitchen or dining room! You can also choose to glue magnets on the back of your frame to hang on your fridge too! I put mine on our kitchen shelves and styled it for the season. I found this super cute tea towel from Rifle Paper Co. Meanwhile, K cooked up his signature sous vide steak which is on the menu. I’m spoiled! But I did help and mad the side salad and air fried crispy potatoes!

I hope you enjoyed this little DIY. Tag me @thekwendyhome on any social platforms so I can see your creations.
Happy Menu-ing!
Love,
W